For my final project I was trying to figure out how to do an gas/scent sensing and while talking with Prof. Neil
he mentioned MQ2 has sensors as a first step towards using biochemicals. This week I am starting to play with the sensors.
Using the spiral approach I wanted to figure out how to use a single sensor before I try to multiplex the different sensors.
MQ Sensor
I went online to find the data sheet. This wasn't very helpful because the datasheet was specifically for the sensor itself, and
in this first iteration I am using a premade sensor, so when I finally looked up a youtube video on using the sensor I realized that
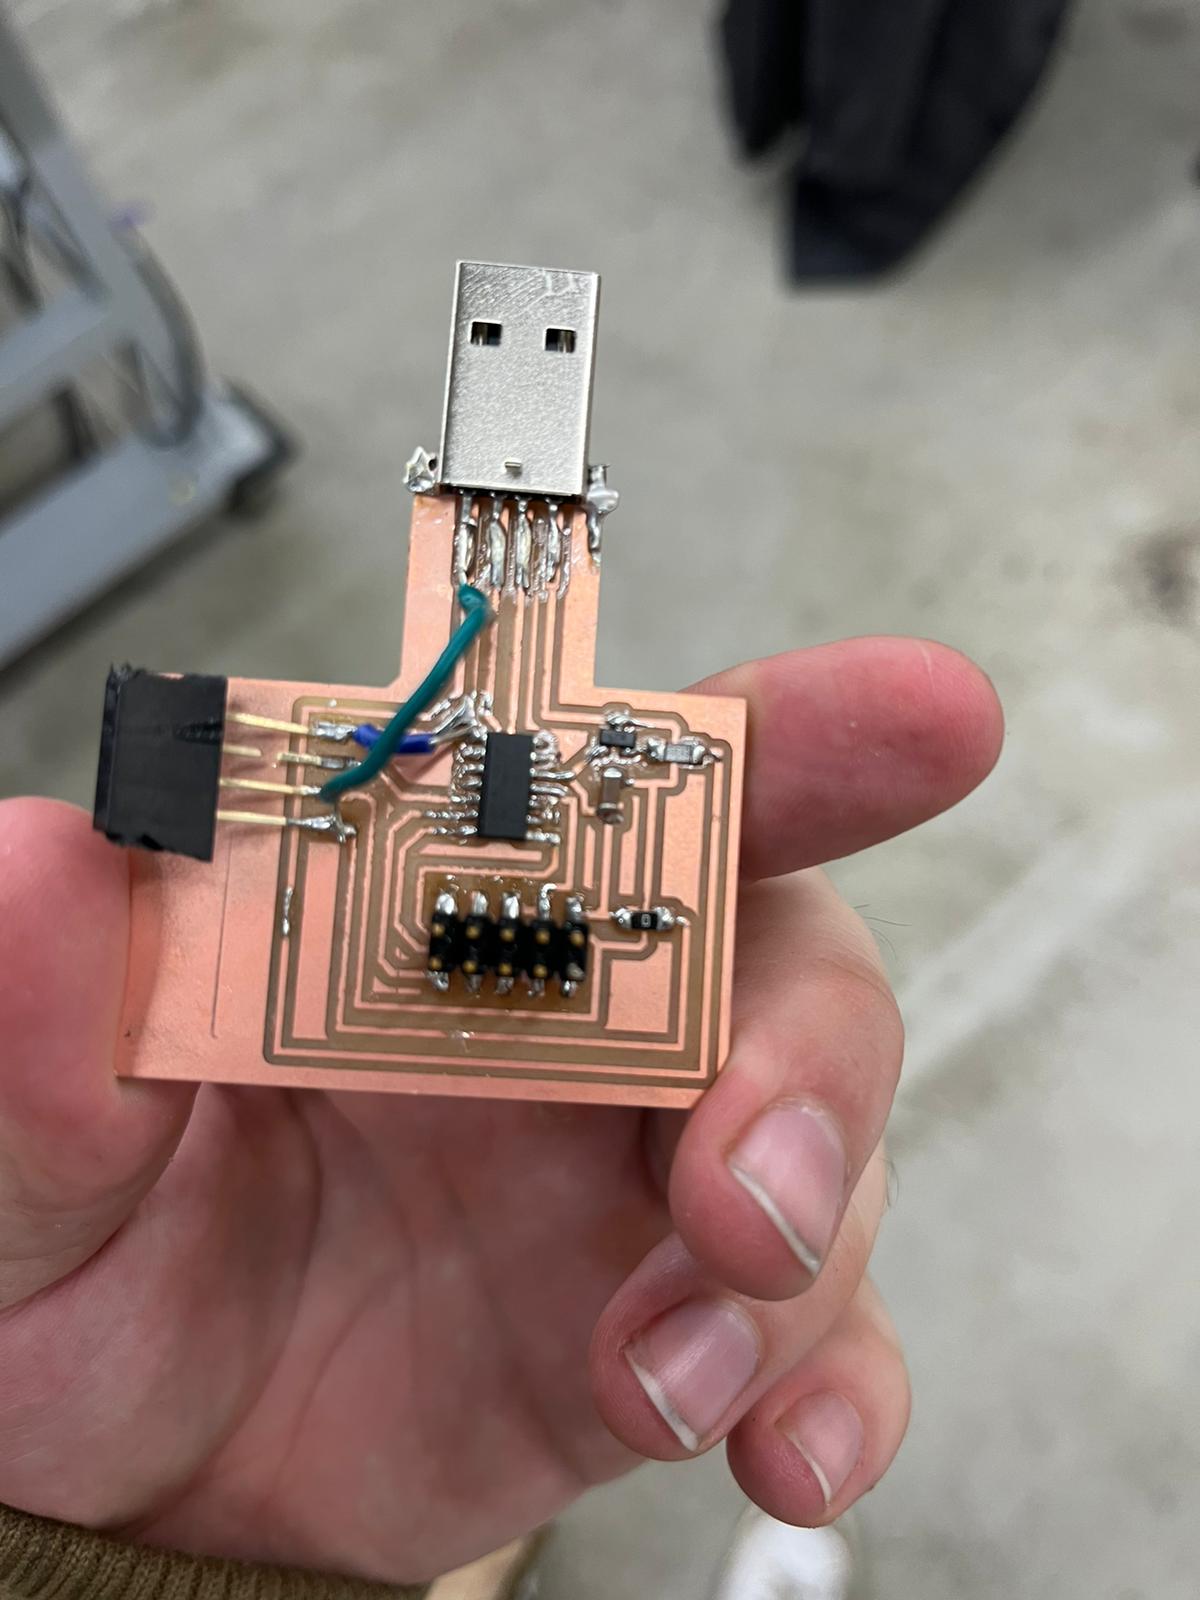
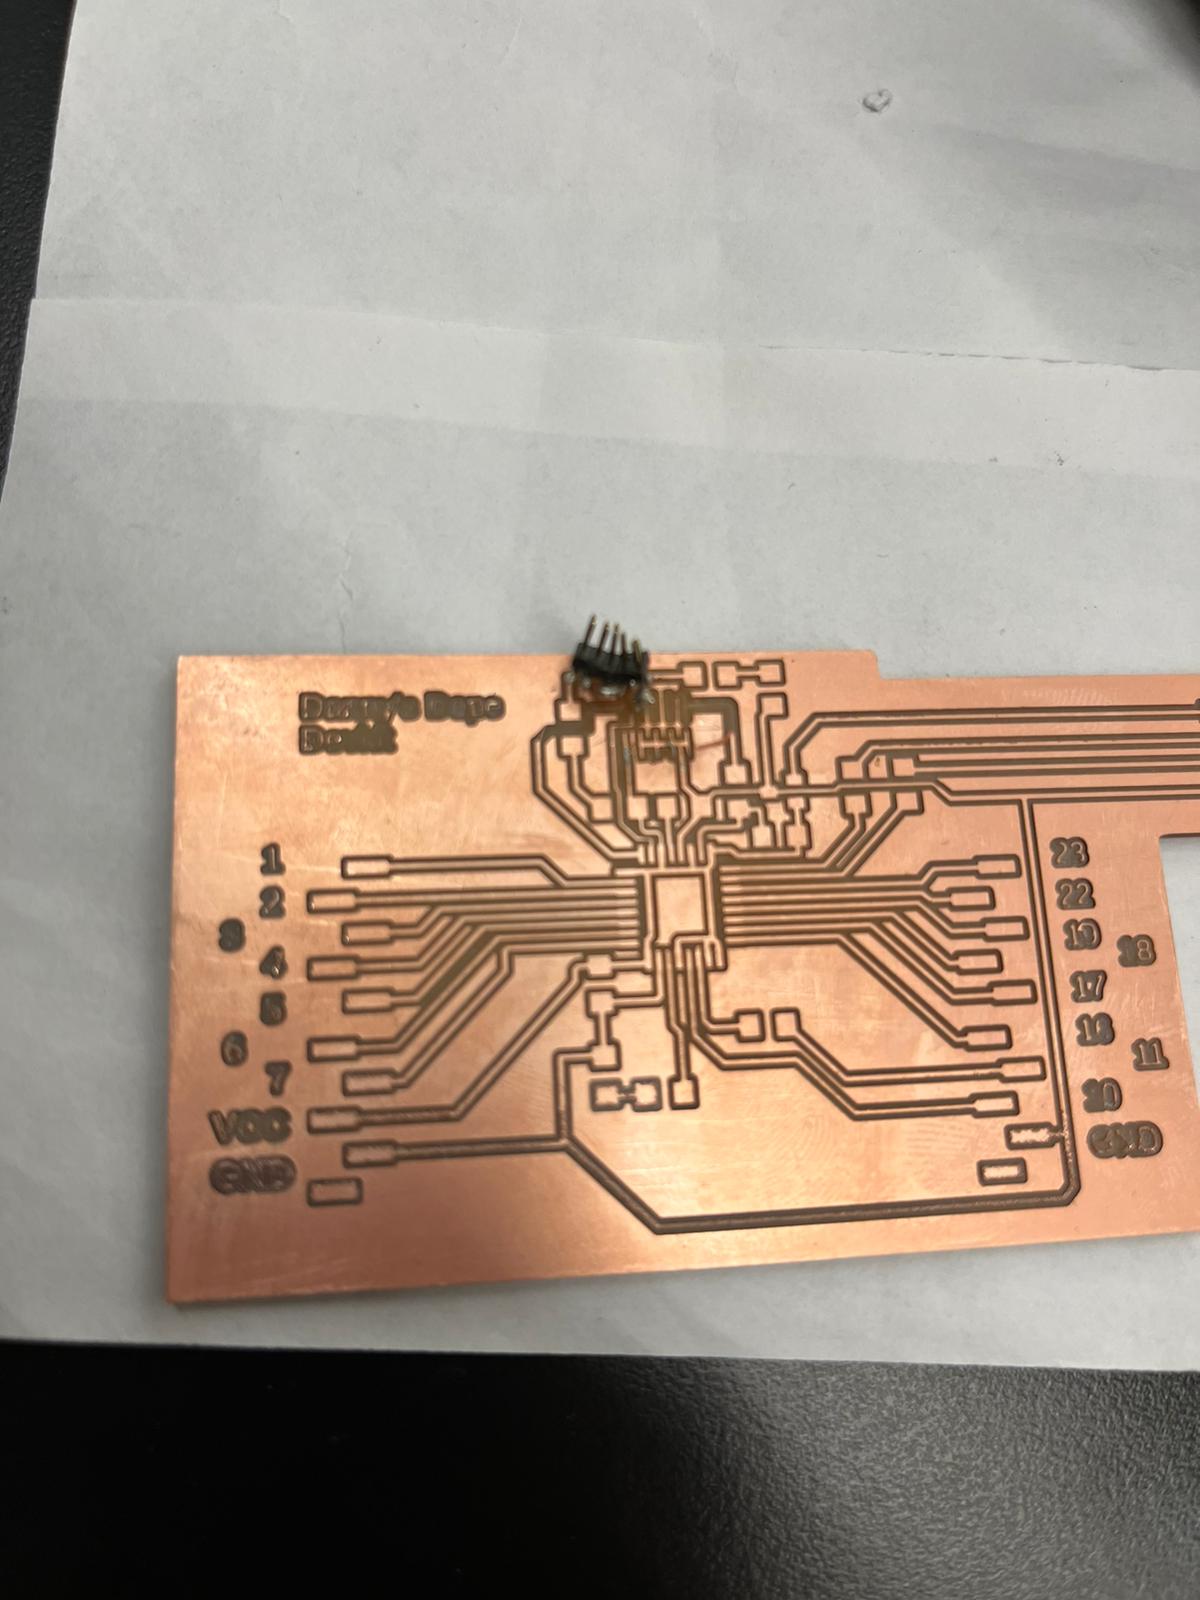
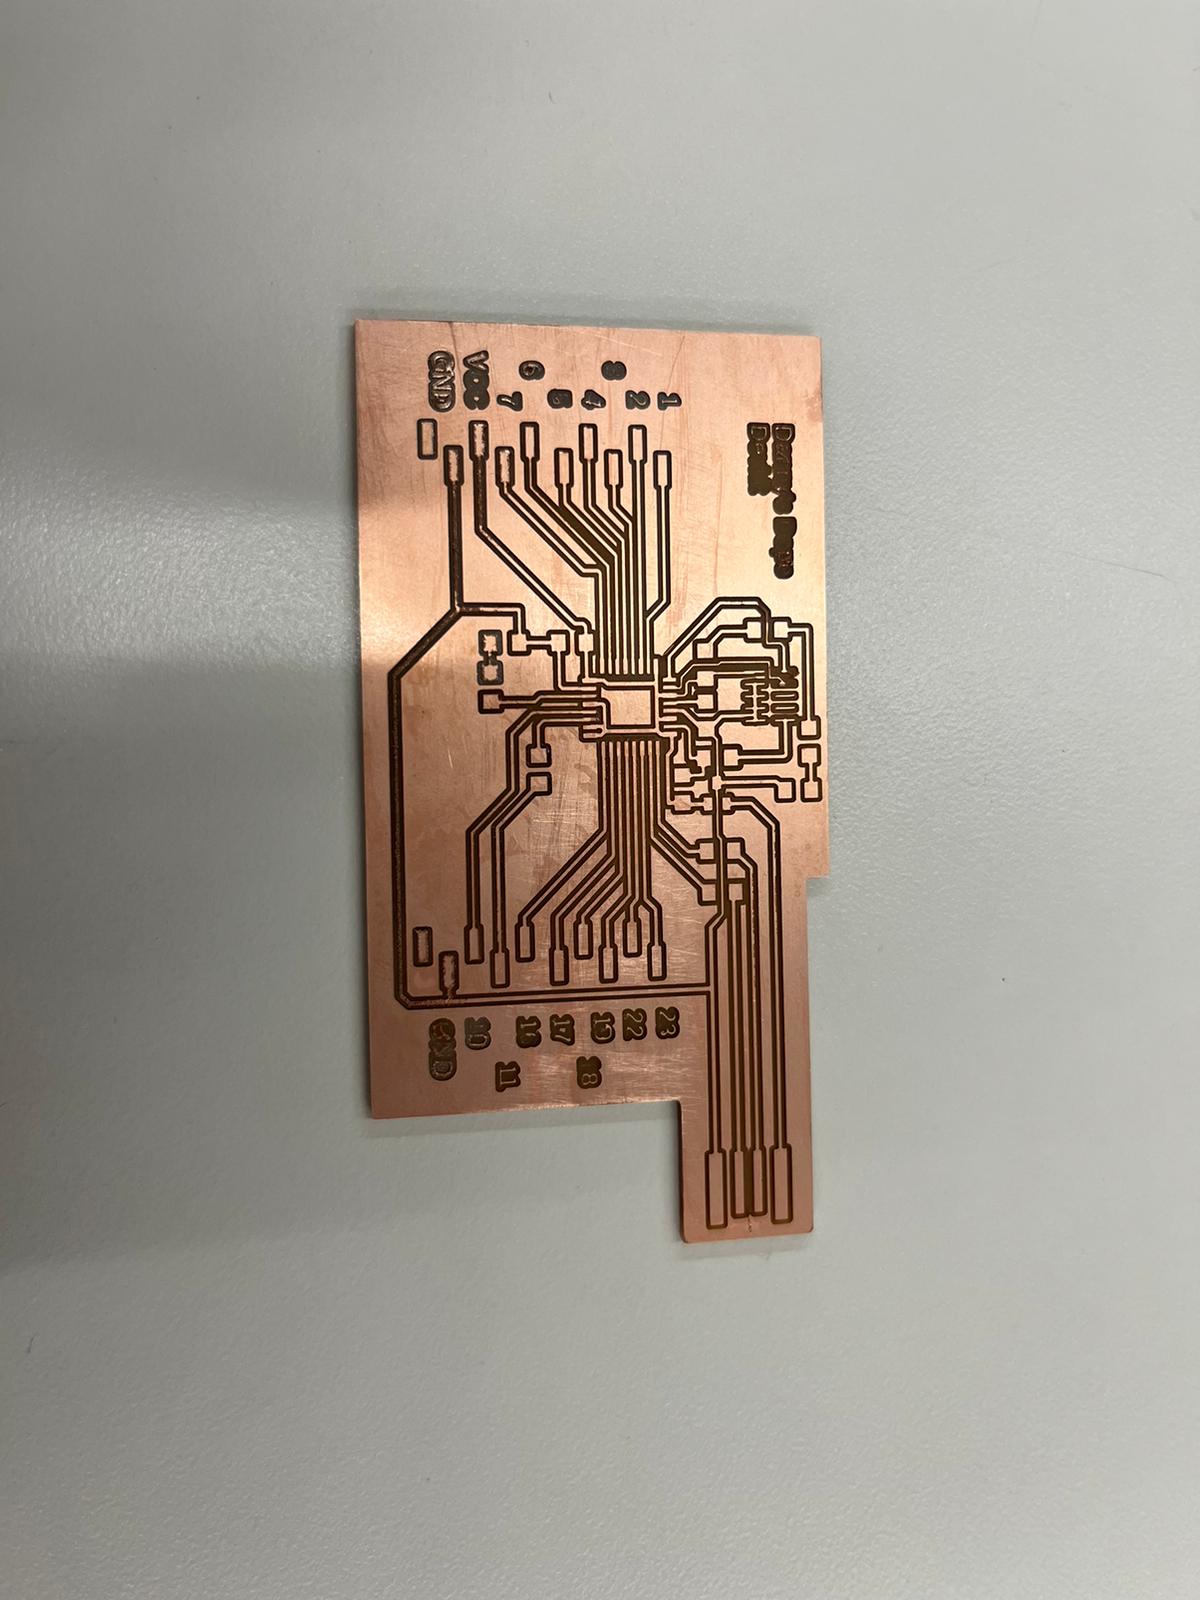
the sensore I would be using needed power ground and either a digital or analog output pin. After figuring this out making the board was
pretty simple, using a similar schematic as week 6 and using the D11C I made the board programmable and added
then 4x1 female header to use with the sensor.
I used this website to guide how to
get an output from the MQ2. Although it was not chaning that much. After reading the data sheet I realized I was powering the sensor with 3.3V
instead of the necessary 5v. So I made a jumper wire to power it with 5V.
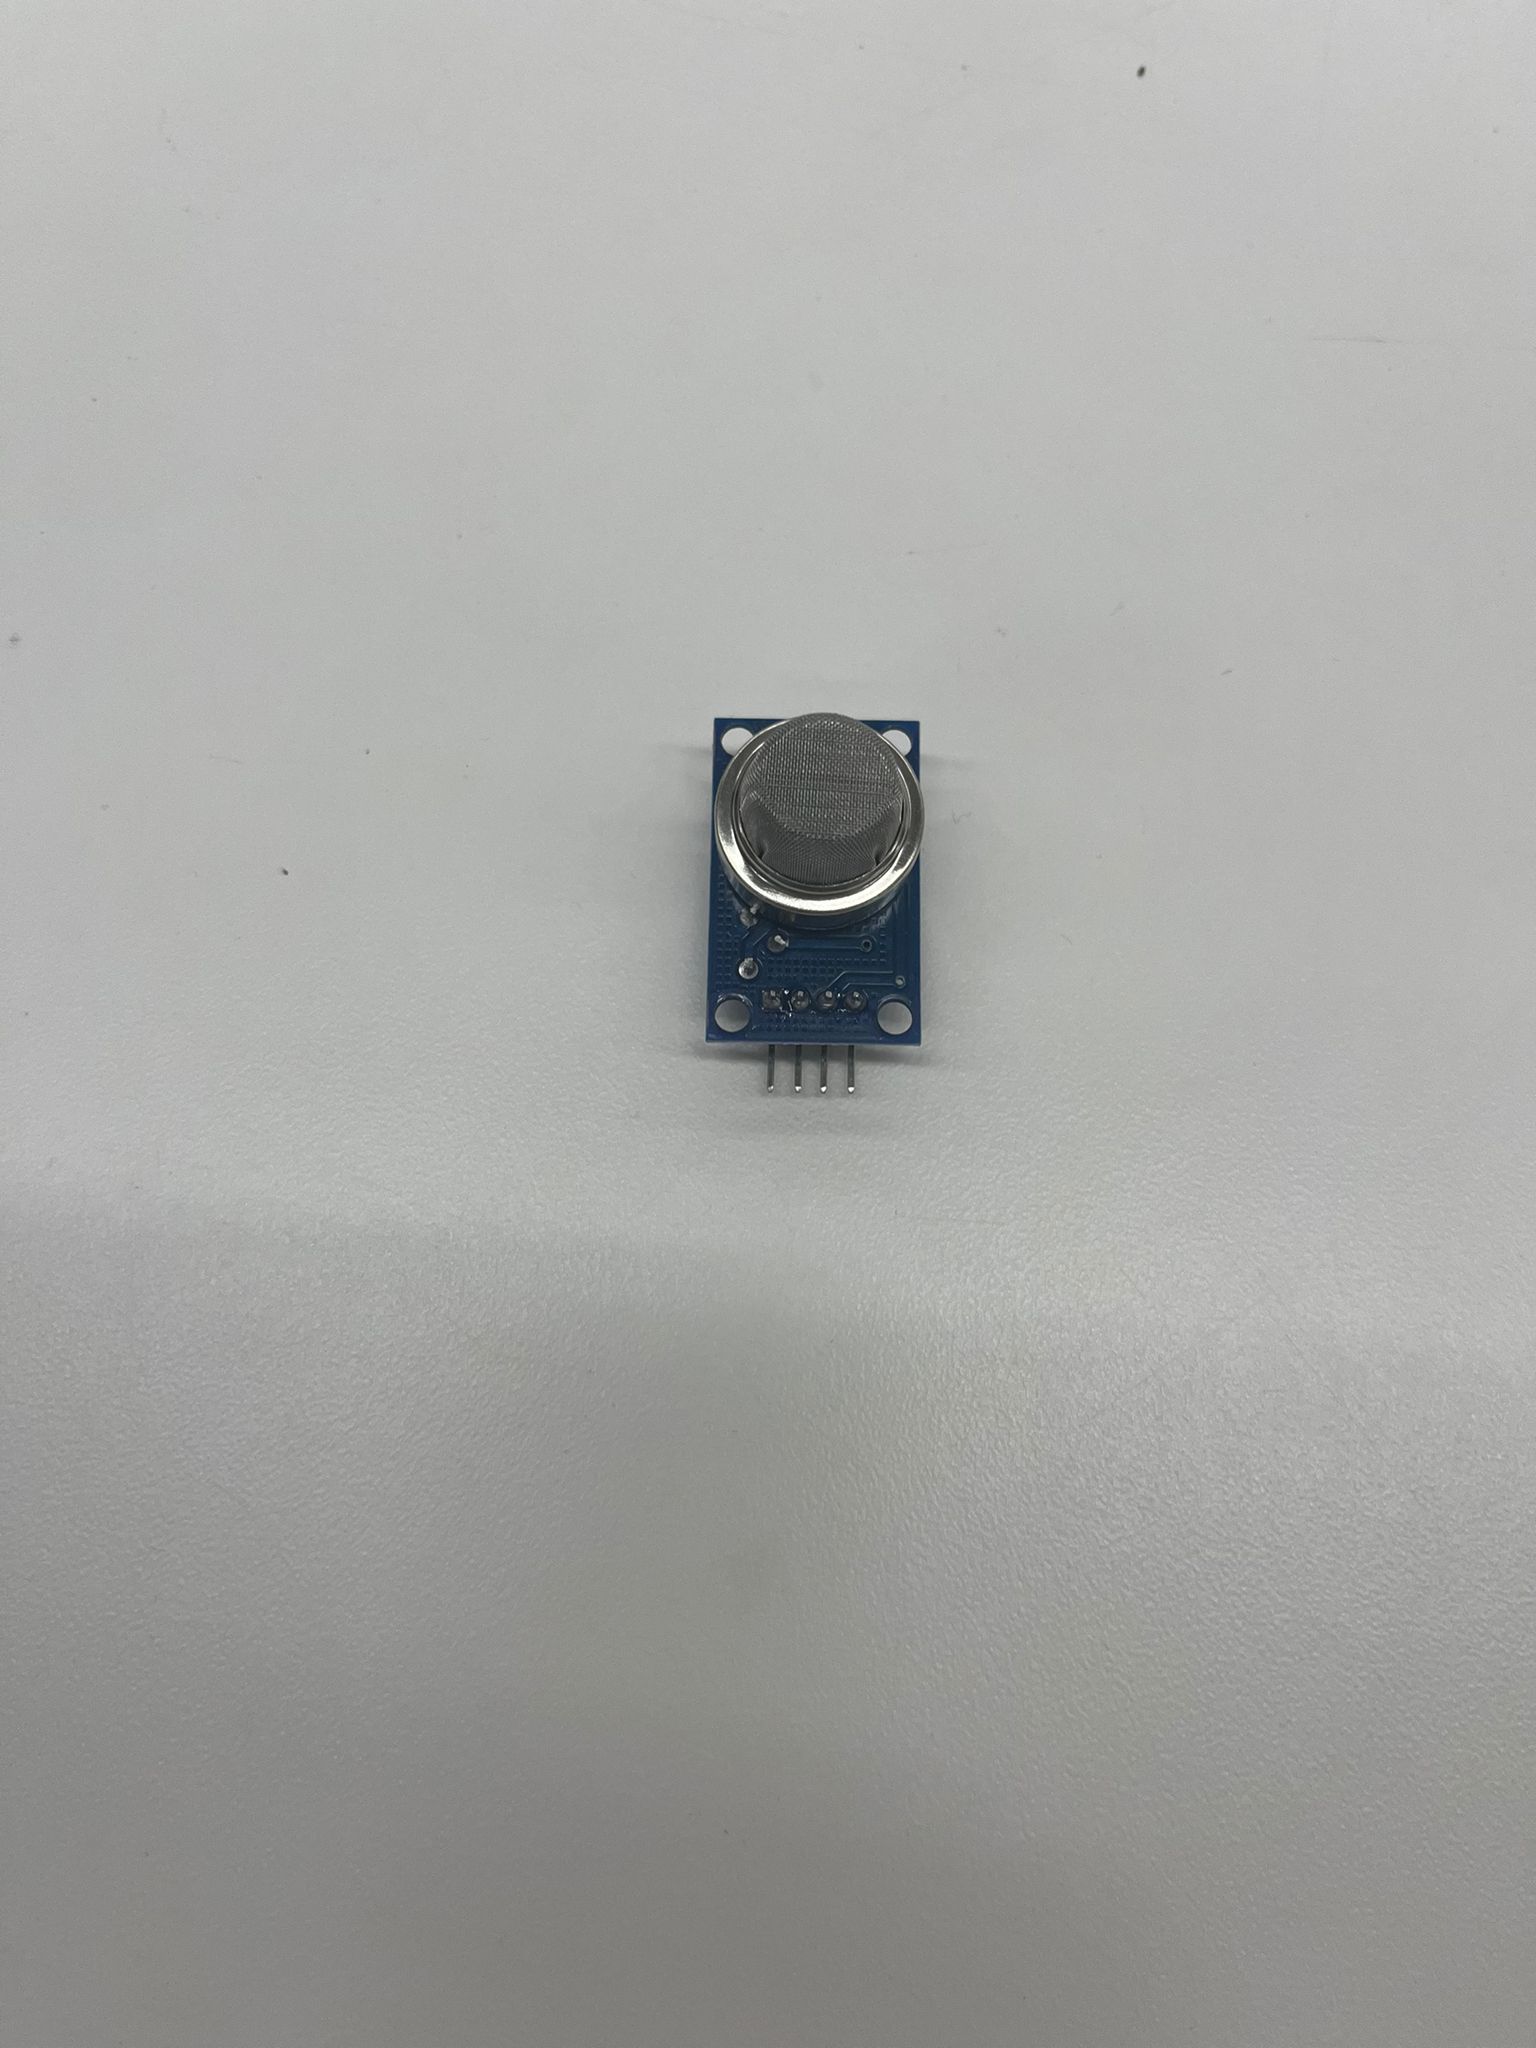
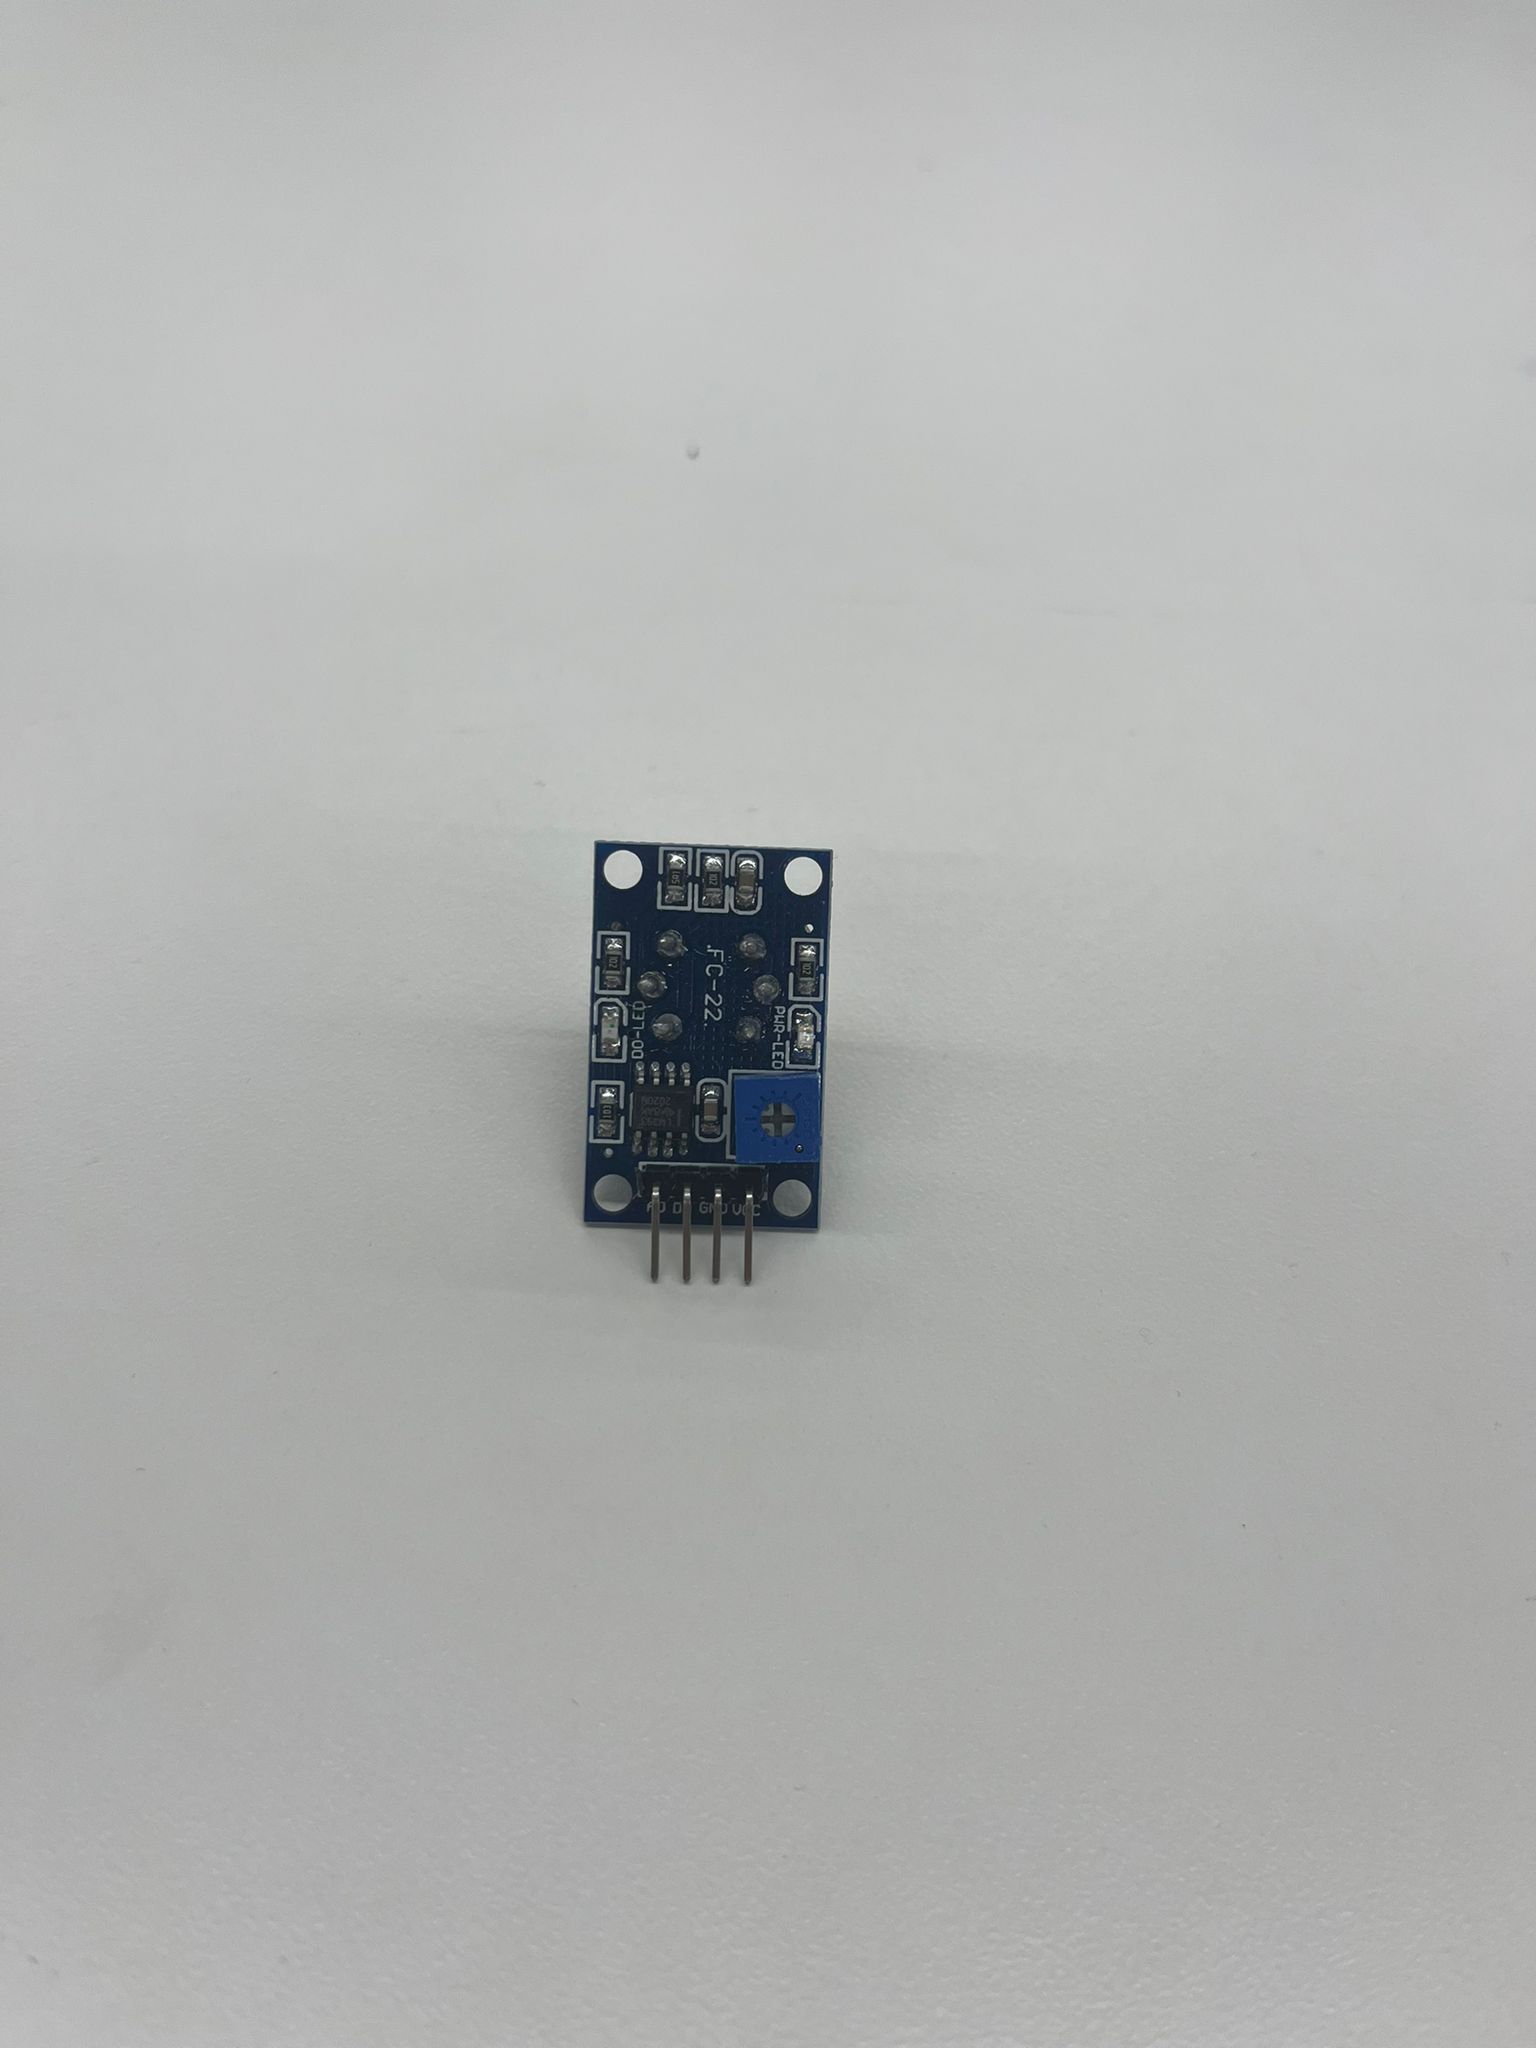
Here is what the sensors look like.
I looked on the data sheets of the MQ2, MQ5, MQ7, MQ135, the four sensors that I have in order to see if I could find one which I could change.
After looking at the MQ135, that seemed like that was the one that I would be able to find. When I started outputting butane from a lighter
then numbers shot up immediatly and I was rewarded with a green light on the back.
MQ135: 250
MQ7: 107
MQ2: 177
MQ5: 162
When I talked with Neil, he believed that some of the sensors may be triggered by other smells/gases than on the data sheet.
Embedded Programming
When programming the board I started using the Arduino IDE. This is possible since Quentin updated some code.
Go to Arduino IDE
Go to Preferences
In Additional board manager URLs copy: https://raw.githubusercontent.com/qbolsee/ArduinoCore-fab-sam/master/json/package_Fab_SAM_index.json
Restart Arduino IDE
Go to Tools
Choose the correct programmer
Then chose burn bootloader
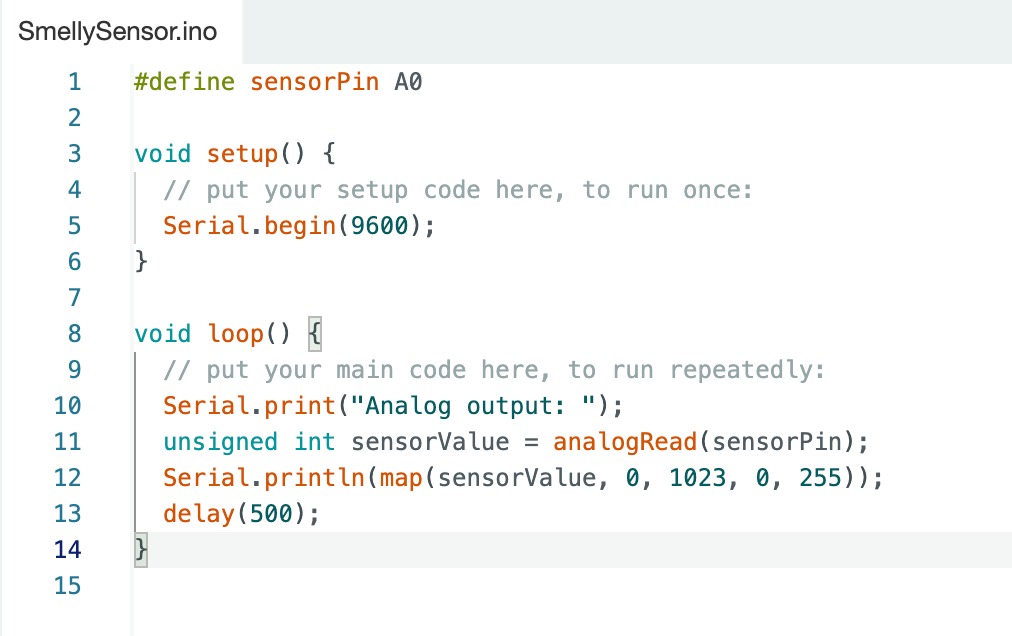
For this week the code was pretty simple. After following my week 6's guide to get the arduino IDE working for the SAMD11C.
I made sure to choose the correct port. All I did in the code was to set the output pin and print the output from the serial monitor.
Now that I got one sensor working. In the coming weeks I want to try different sensors with different fluids and scents.
DevKit
This week I also wanted to make a devkit so instead of making new boards everytime I want to change something I can just make breakout boards
and use wires to connect the sensors. I was using Quentin's webiste as a guide but changed it to make it my own. I still haven't succeeded yet
once because of the milling and once because of my poor soldering